

Memorable
Holdoz Casting Kit is a fun and activity product for you and your family or friends. Once you try it definitely you will love it and finished sculpture of your hands will be a long lasting home decore item and be a reminder of that moment when you made it.

Easy to Use
Its easy to use. Just three simple steps applied in making hand sculpture. First with moulding powder then second is with Casting Powder and then Third and last Finishing step and we also provide complete instruction book along with kit. Just follow it and you will be able to make a perfect hand sculpture.

Gift
Holdoz casting kit is also a very great idea of a gift for someone. Its a very interesting and creative product and will become a memory of you in his/her mind forever. More over it has a long expiry date.
Here is the complete A to Z step by step Instructions of using Casting Kit.
.
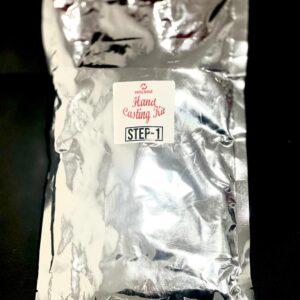
Step-1 (Moulding Powder)
- Lay a newspaper on the kitchen table or counter to work on. Measure 2.2 litre of cold (73 degrees) water and pour it into the moulding bucket. Do not use warm water, the mould will set to quickly. Before adding the moulding powder into the bucket of water, practice inserting your hands into the bucket of water for two to three minutes. This will allow you to become comfortable with the water temperature and determine the position of your hands. This will ensure that you get a beautiful statue.
2.Make sure you are in a comfortable position. We recommend someone hold the bucket at arms level or placing the bucket on a chair. Open the bag of moulding powder and empty the bag of moulding powder into the moulding bucket while mixing.
3. Mix quickly and thoroughly. The material will have a lumpy consistency. We recommend a churning motion straight up and down. It is ok. If some moulding powder spills out while you are mixing.
4. Insert your hands into the bucket. After 2-3 minute the material will begin to thicken and start to set. Make sure the hands are completely covered with moulding material but not touching the bottom or sides of the bucket. Firmly hold your hands in the bucket until the mould has set completely. Test it by
touching the top of the material with your finger. The Moulding should not stick to your finger. The bottom of the mould takes a little longer to set then the top. So leave your hands in the mould another 20 seconds after you think the top has set completely. - Remove one hand at a time. Slowly wiggling the hands from side to side (this will release the suction). Be careful not to tear the mould. Rinse your hands with water to remove any moulding material.
Helpful Hints: -If you are wearing rings have the man remove his hand first. This will give the woman more space to wiggle her ring free before removing her hand from the mould. -If you are holding an object slowly wiggle your hand free from the object. Ensuring the object stays in place in the mould.
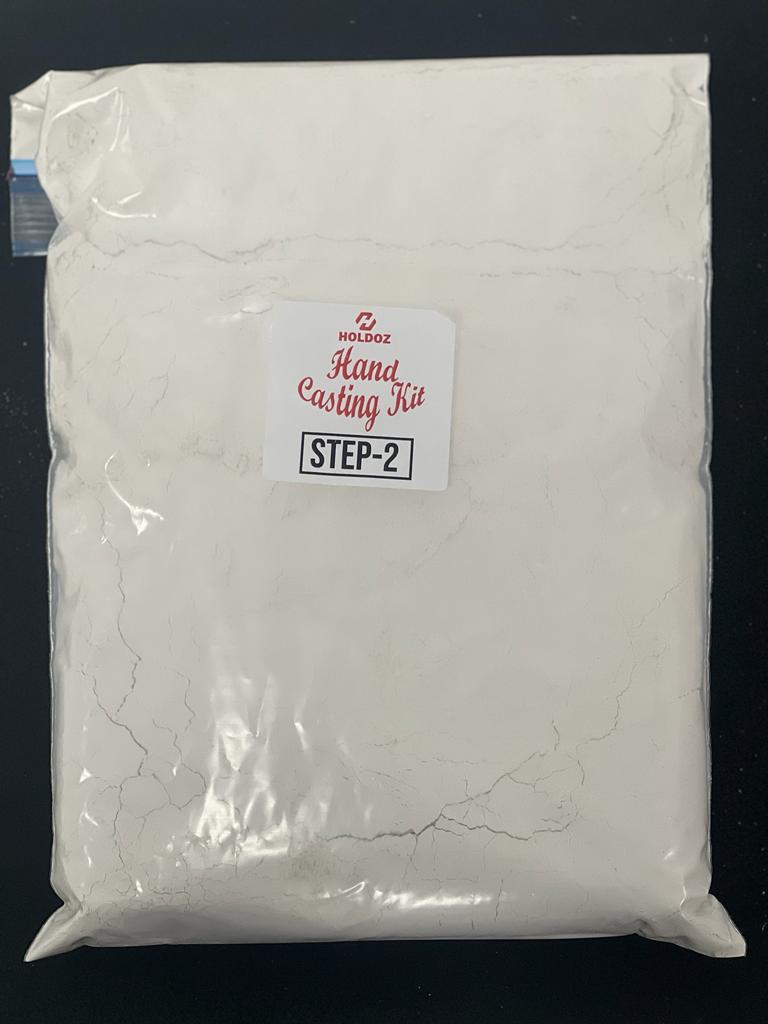
Step-2 (Casting Powder)
- Pour 1 2/3 cups (405 ml) of cold water into the large mixing bowl. Pour the bag of Casting powder into the bowl of water.
2.Mix until a smooth consistency develops. If you curled your fingers in the mould continue with number 3. If you did not curl your fingers continue with number 6.
3. Pour some amount of mixed casting powder into the mould. Look inside the mould and tilt the bucket so the casting material fills the curled finger tips. By tilting the bucket sideways this will release any trapped air (This is important otherwise the finger tips will not turn out). To make the air bubbles rise to the surface, tap the bucket on the table firmly 20 times.
4. With the bucket still tilted in the angles position, pour as much mixture into the mould as possible without it spilling out. Tap the bucket on the table or counter top firmly 20 times.
5. Tilt the bucket upwards slightly and pour as much mixture into the mould as possible without it spilling out. Repeat this step until you bring the bucket back to its upright position. Fill the mould to the top with casting mixture. Tap the bucket on the sides and bottom until all the air bubbles have surfaced.
(Skip number 6 & 7 and continue on to number 8). - Pour casting mixture into the mould. Tap the bottom and sides of the bucket firmly 20 times, to make the air bubbles rise to the surface. Tap vigorously, it will not hurt the mould.
- Continue adding Casting mixture to the mould and tap occasionally until the mould is filled to the top. Tap the bucket on the sides and bottom until all the air bubbles have surfaced.
8.Set the bucket aside and allow the statue to harden for 1-2 hours.
Step-3 (Finishing)
- Pull on all sides of the bucket (two sides at a time) so the moulding breaks its suction from the bucket. Pull the mould out of the bucket by turning the bucket upside down. Squeeze and tap until the mould slides out of the bucket. Carefully peel the moulding away from the statue. Be very careful not to break the fragile fingers.
2.If necessary mix the remaining casting powder with a few drops of water to get a thick mixture (you want it to have the consistency of putty). Fill any air bubble holes and imperfections at this time (let the statue dry for about 15 minutes).
3. If necessary use a safety pin to remove any excess casting or moulding and to accent the details of your statue.
4. Sand the bottom of the statue with sandpaper to get a smooth and even bottom.
5. After you have fixed any imperfections, set your Hands aside to dry for at least 5 days.
6. Apply 1 or 2 coats of clear protective sealant or paint. If you are going to paint it a colour, we suggest placing a small amount in an area that won't be visible. This will ensure you like the colour before proceeding. The clear protective sealant should be applied after the paint if you choose to paint the statue. This will give your statue a protective coating. Allow 30 minutes dry time between each coat. Place the statue on wax paper while drying.
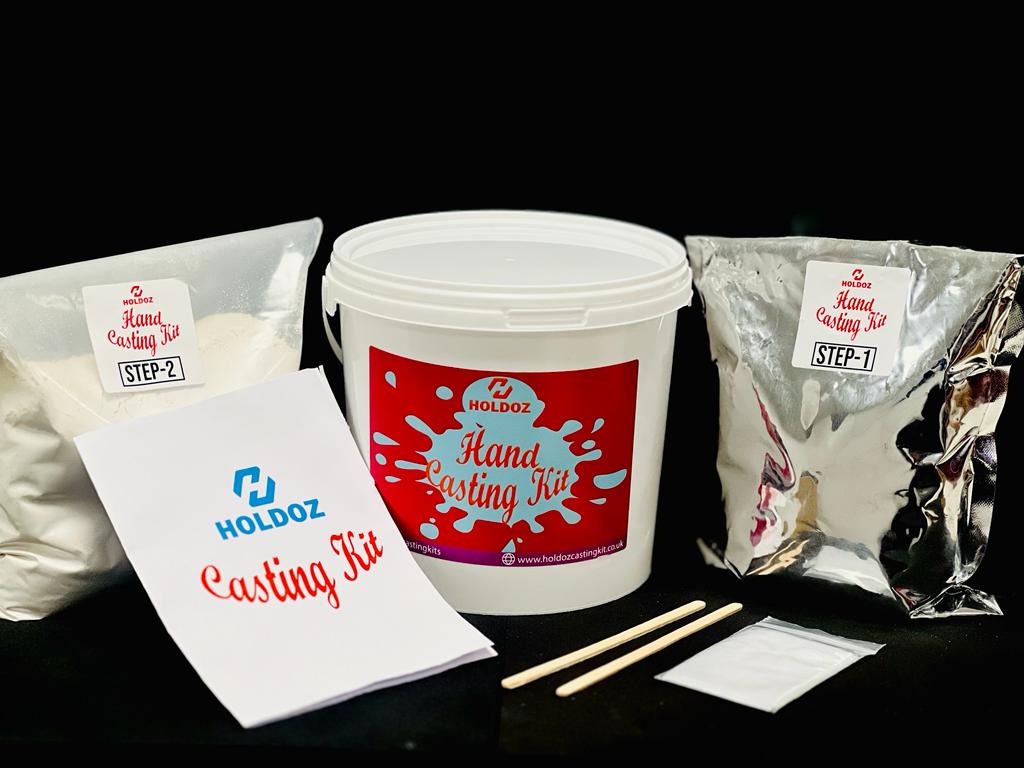
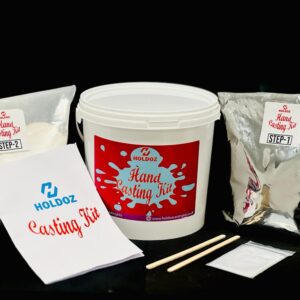
Holdoz Hand Casting Kit Items:
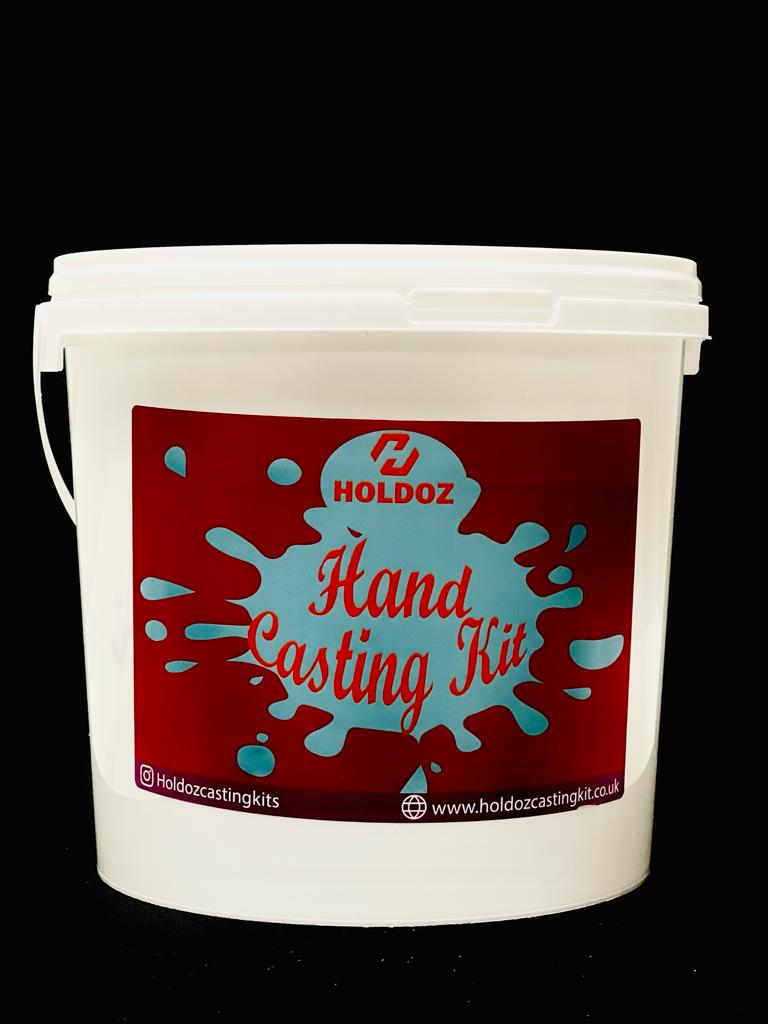
- Moulding Bucket
- Moulding powder
- Casting powder
- Pair of gloves for mixing Casting powder
- Sandpaper for making even bottom of statue
- Step-By-Step Complete Instruction Manual
Everything is included in casting kit for making a statue of your hands.
Creating commemorative hand casts is not just a fun activity, but a way to preserve treasured moments for years to come. The plaster cast creation kit helps to capture the touch of hands in the smallest detail, creating unique souvenirs that can be kept as family heirlooms. It is important to note that such things are not only pleasing to the eye, but also carry an emotional charge, bringing back to the past, to those moments that can no longer be repeated. There are many ways to preserve moments in life, and one of them is to find entertainment to your liking. Interesting hobbies and pastimes can be combined with other activities, for example, those who are looking for new experiences and variety may be interested to learn about popular payment methods at Canadian online casinos, which will make it easy and fast to bet and win. Useful information on how to choose the most convenient and secure payment options is available at https://casinoloonie.com/. By creating hand casts with the kit, you can not only capture memories, but also be inspired by the idea of how important it is to cherish the moments spent together, including those when you manage to relax and try your luck at your favorite games.
Valueable
Holdoz casting kit is a great idea for everyone! The finished sculpture makes a great decor item for anywhere in the house. Always have a reminder of the love. The unique rubbery mould captures every detail of your hands and comes out as a perfect sculpture of your hand on finishing. The Holdoz casting kit is a fun and memorable activity for families, newly married couples, and friends for creating a priceless memory. Great for an occasion like Birthday, anniversary, engagement, valentine's day, mother's day, Father's day, or for grand parents for preserving there hand sculpture and also for Kids.

Non Toxic
Holdoz Casting Kit consist of non toxic material has no side effects on your skin.

Long Lasting
Finished product will be a long lasting home decor item for your house.

Creative
It is creative and interesting idea for making a memory with your loved ones.

Painting
Its a great idea for showing your art and painting skills.

Gift
Holdoz Casting Kit will be a great and memorable gift for your loved ones.

Make Video
Film a video while casting your hands. It will be a great and memorable moment for you.
KIT SPECS
Specifications
One Bucket for making mould, 1lb moulding powder, 2.2lb Casting powder, Pair of gloves for mixing Casting Powder, Sand paper for making even bottom of the statue and Instruction manual consist of complete step by step guideline.
Sale!


Hand Casting kit
£24.99
Free Delivery
Free delivery available for limited time on all orders.
Contact us
Email: customer@holdozcastingkit.co.uk
Instagram: Holdozcastingkits